Set Up OAuth2 Authentication for Archibus Extension for Microsoft Exchange
Starting on October 1, 2022, Exchange Online is disabling Basic Authentication over every communication protocol, See https://learn.microsoft.com/en-us/exchange/clients-and-mobile-in-exchange-online/deprecation-of-basic-authentication-exchange-online
With this change, you must now follow these steps to set up authentication.
Note: These instructions are valid for SMTP, not for Reservations or Maintenance Exchange integration. For these applications, you need a certificate instead of a client secret, and you need to assign permissions to use the EWS API. See Set Up OAuth2 for Reservations and Maintenance.
Step 1: Create an Azure Account
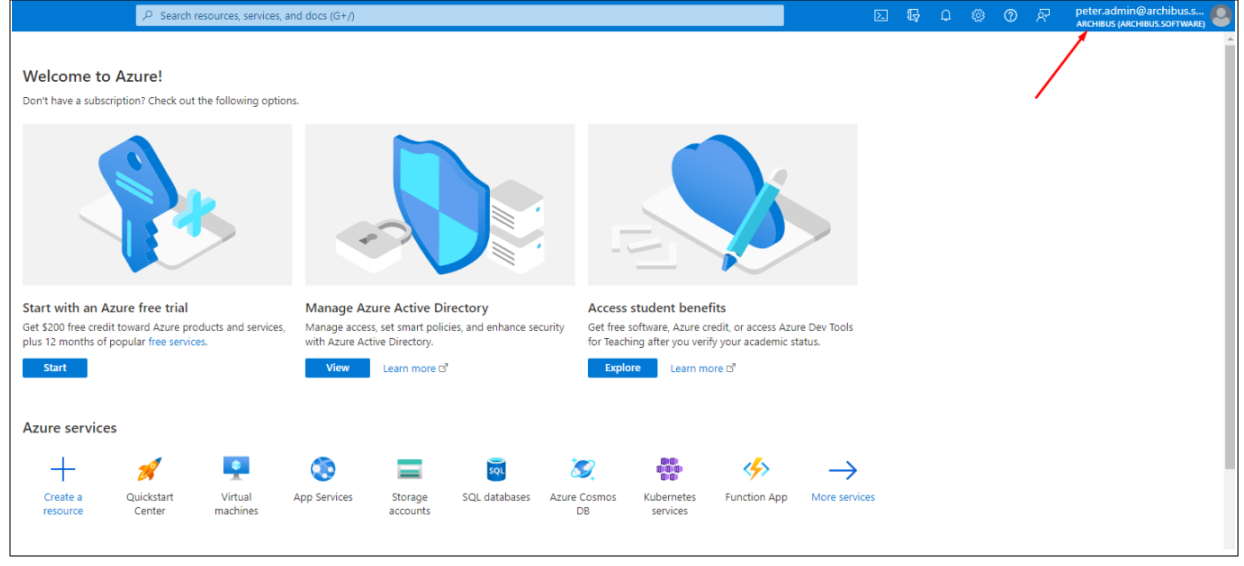
Firstly, it’s required to create an Azure account. Go to the Azure home page and register a new user if there is not any existing. After an account has been created, check that it has a proper tenant by checking the upper-right corner. If you have a tenant, you'll automatically be signed in. You see the tenant name directly under your account name:
If you don't already have an Azure AD tenant or if you want to create a new one for development, see Create a new tenant in Azure AD. Or use the directory creation experience in the Azure portal.
Step 2: Register WebCentral in the Azure portal
-
Search for and select Azure Active Directory
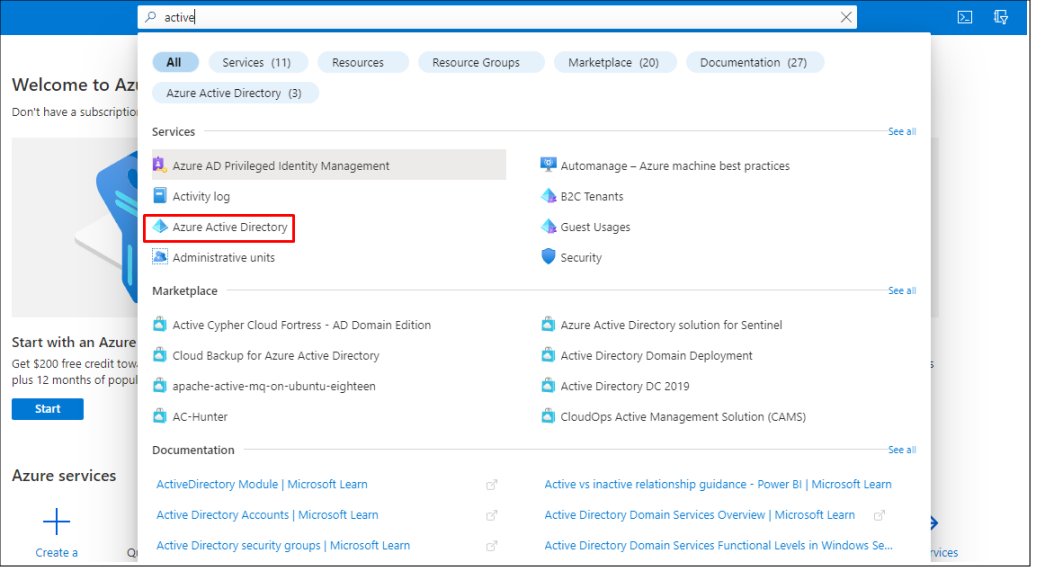 :
: -
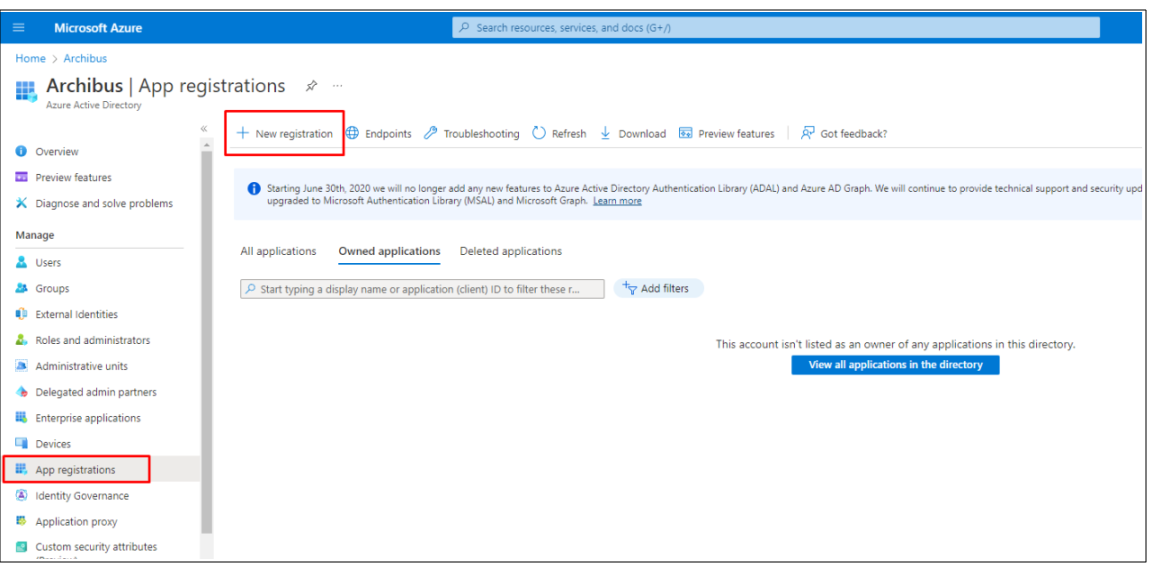
Under Manage, select App registrations > New registration:
-
Specify who can use the application.
-
Do not enter anything for Redirect URI (optional). You will configure a redirect URI in the next section.
-
Select Register to complete the initial app registration
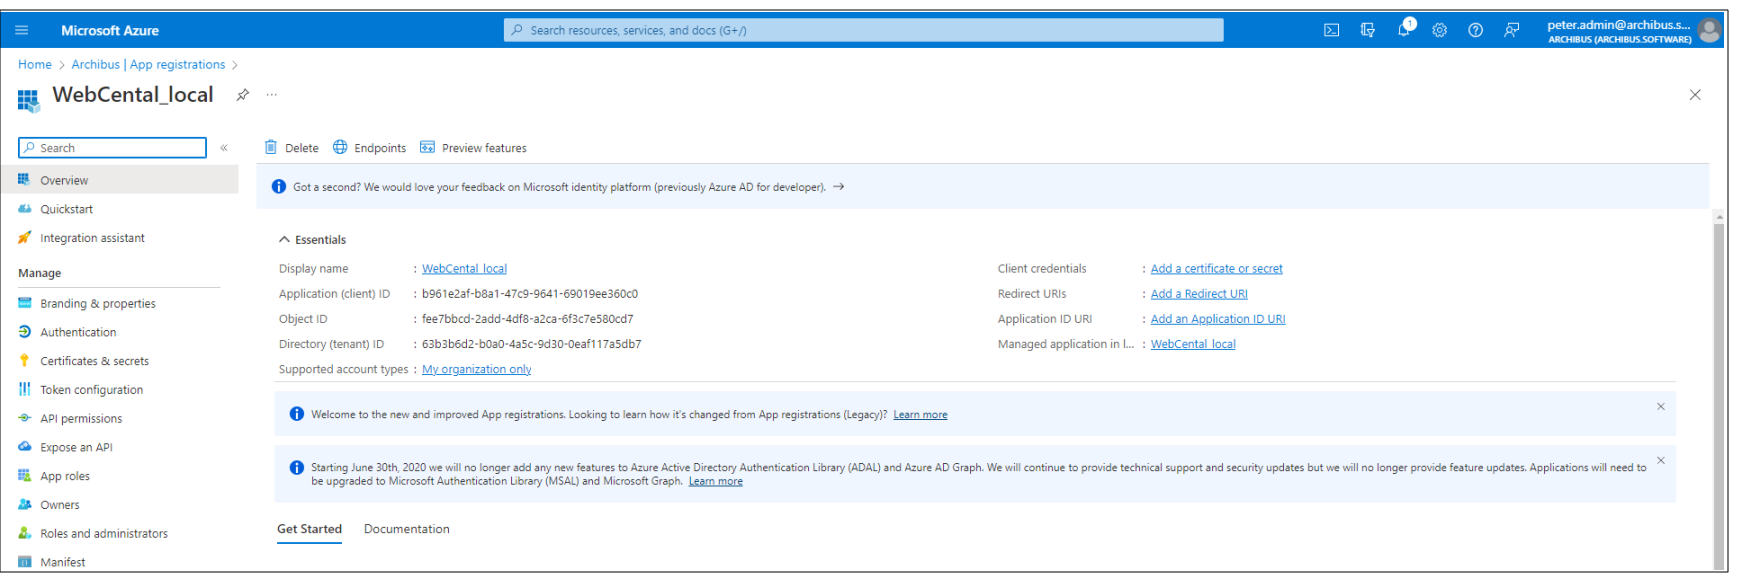
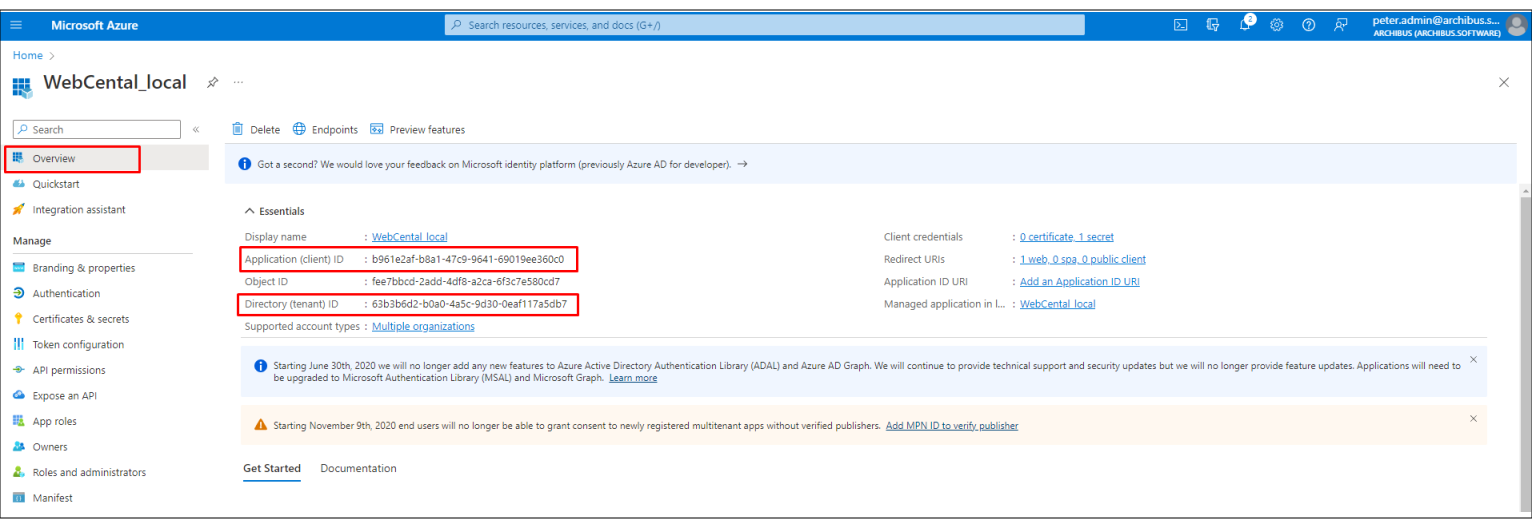
When registration finishes, the Azure portal displays the app registration's Overview pane. You see the Application (client) ID. Also called the client ID, this value uniquely identifies your application in the Microsoft identity platform.
Step 3: Set up a Redirect URL
A redirect URI is the location where the Microsoft identity platform redirects a user's client and sends security tokens after authentication.
In a production web application, for example, the redirect URI is often a public endpoint where your app is running; for example: https://contoso.com/auth-response. During development, it is common to also add the endpoint where you run your app locally, such as https://127.0.0.1/auth-response or http://localhost/auth-response.
Settings for each application type, including redirect URIs, are configured in Platform configurations in the Azure portal.
-
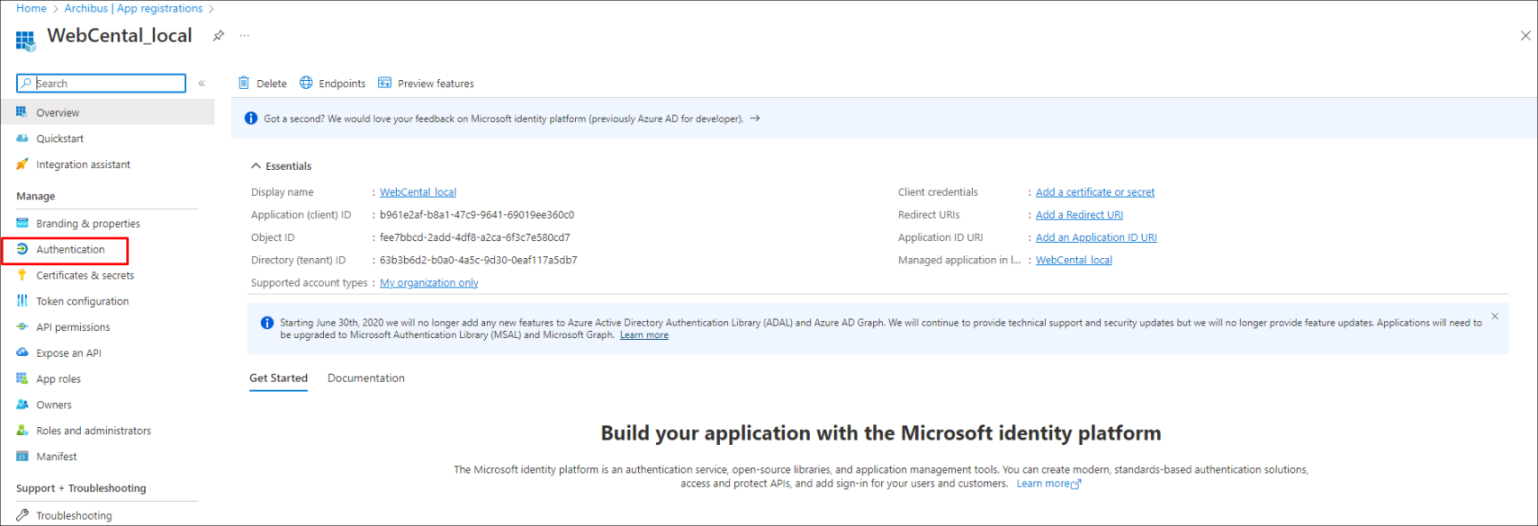
In the Azure portal, in App registrations, select your application.
-
Under Manage, select Authentication:
-
Under Platform configurations, select Add a platform.
-
Under Configure platforms, select Web:
-
Set the redirect URL: http://localhost:8080/archibus/login.axvw
-
Click Configure
-
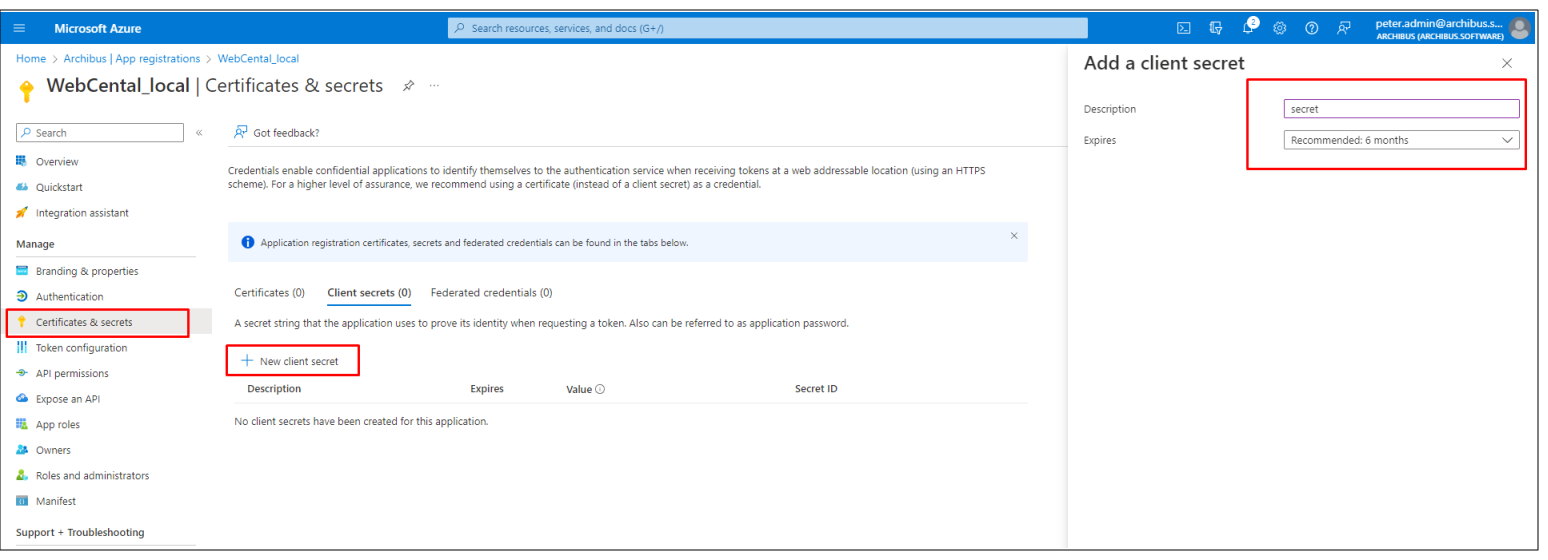
Add a Secret: The result is:
-
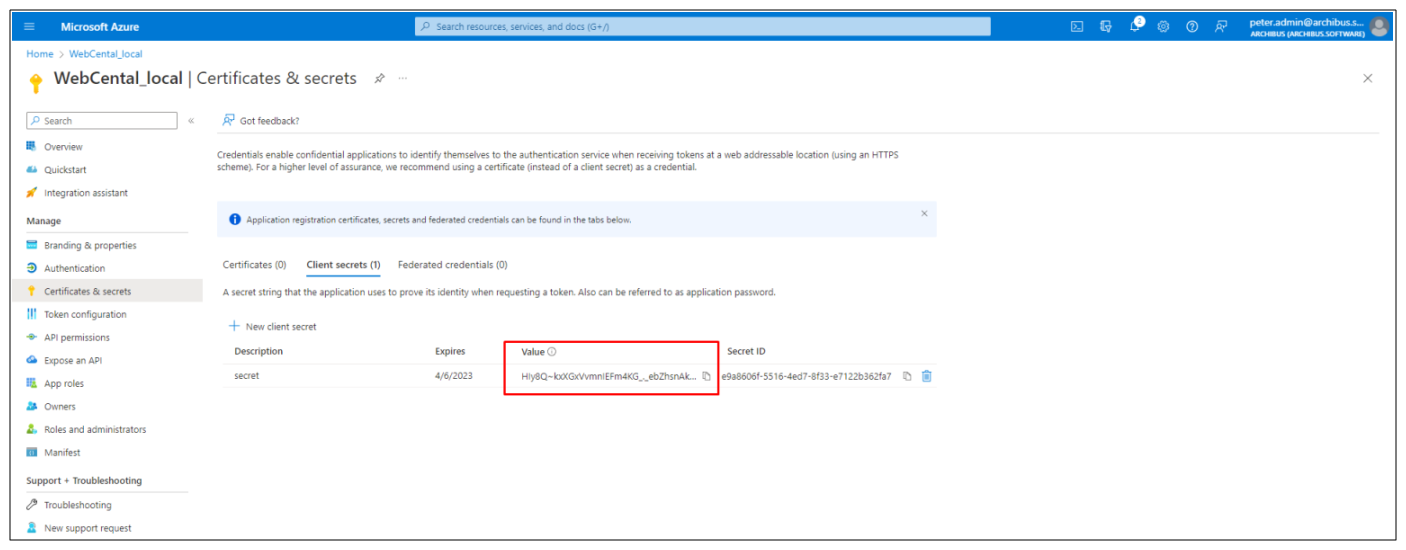
Once the secret has been configured, copy its value. It will not be available for once the page is closed.
Step 4: Complete Remaining Steps
-
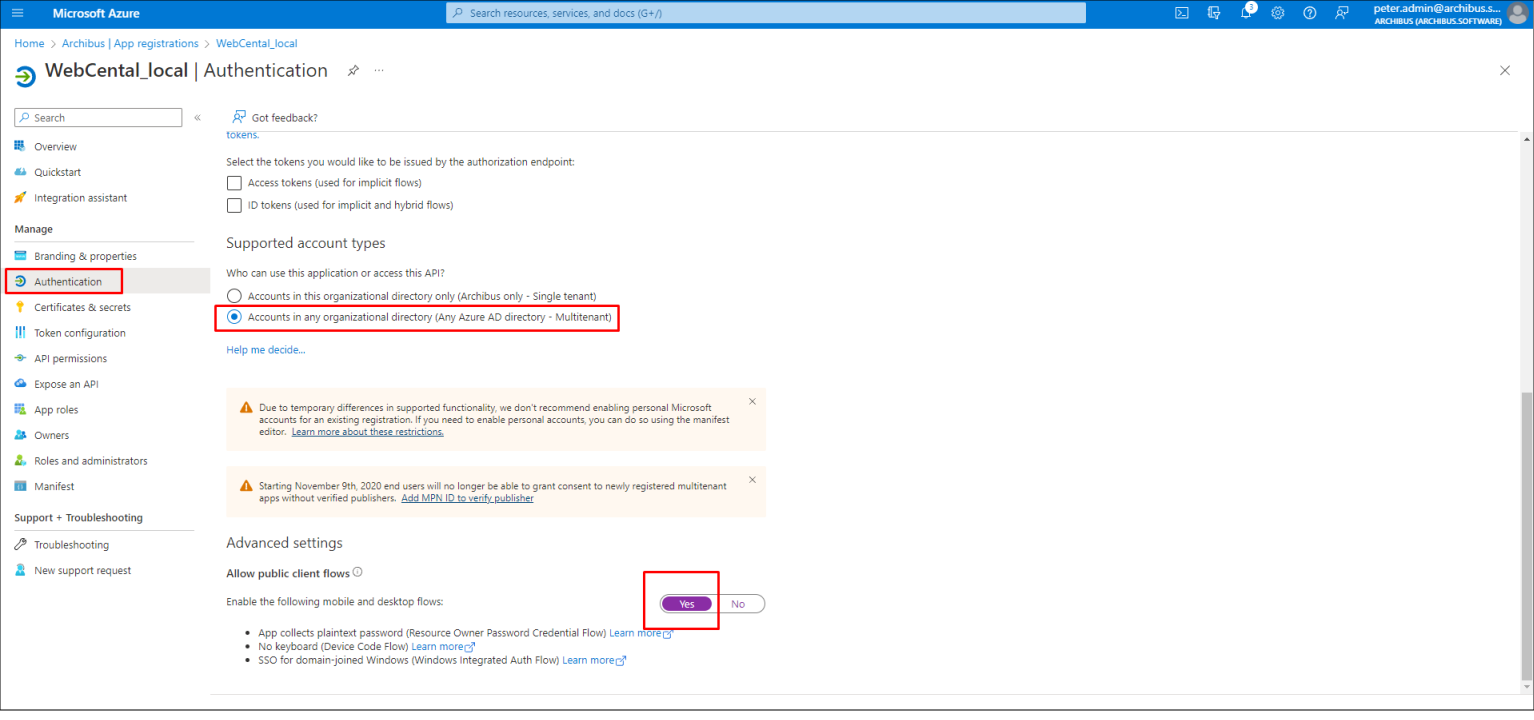
Go to Authentication → Select Supported account types: Accounts in any organizational directory (Any Azure AD directory - Multitenant)
-
Allow public client flows
-
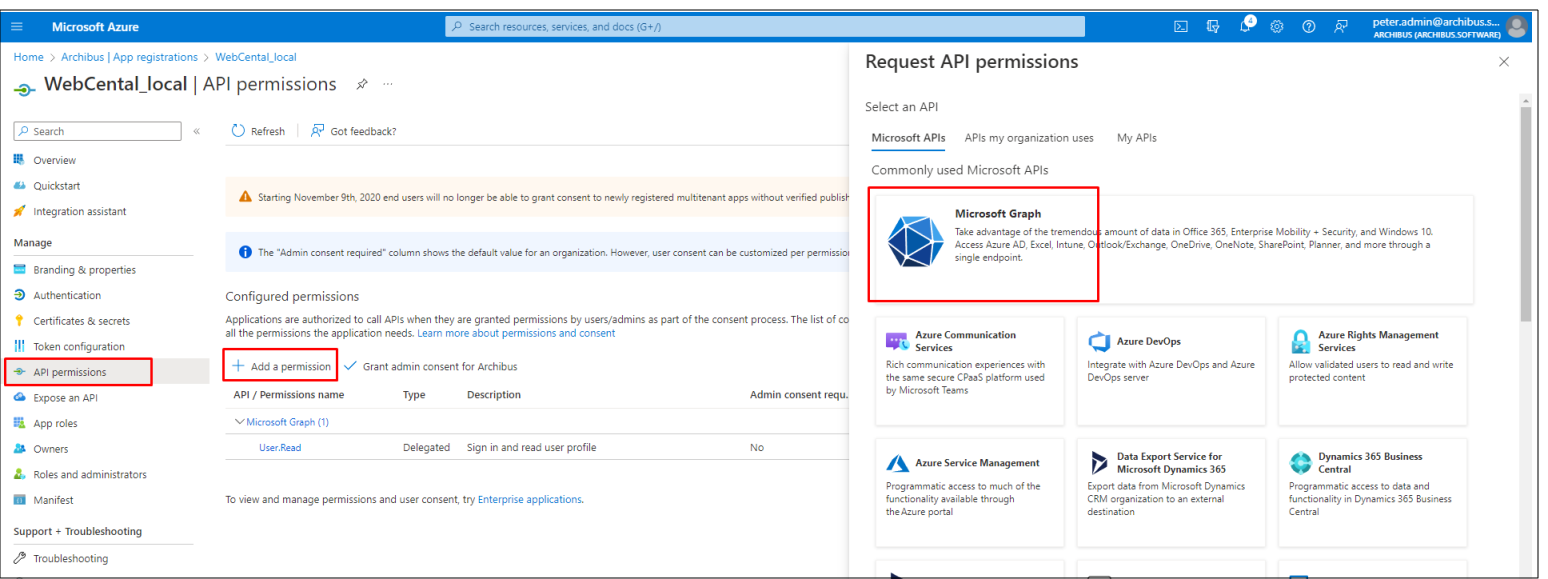
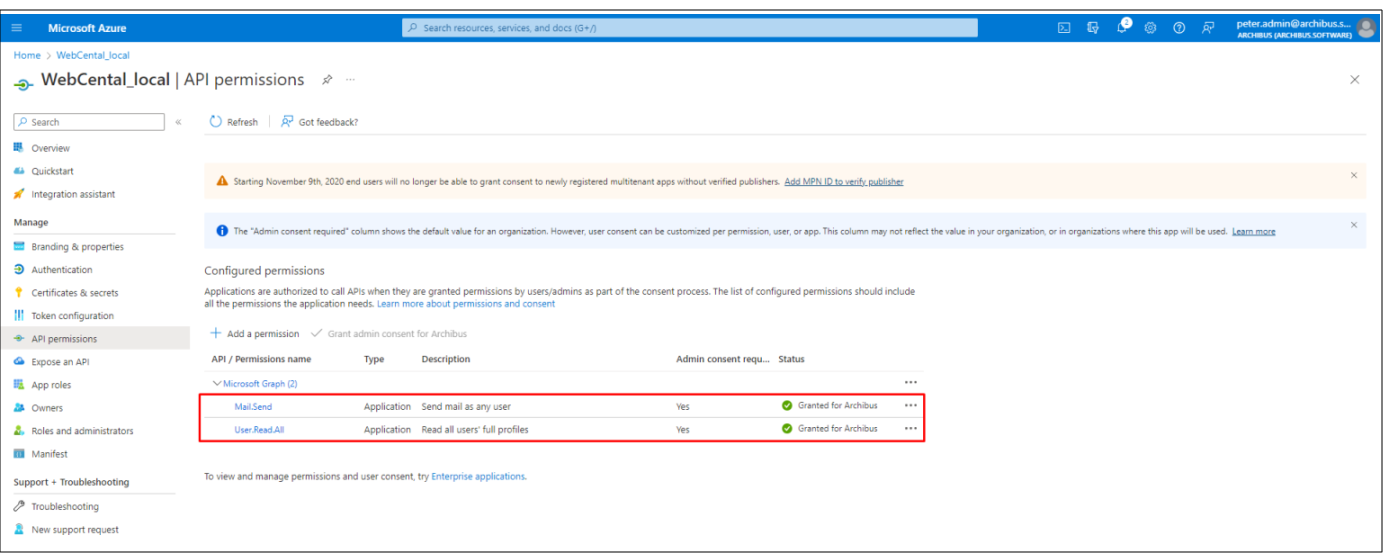
Go to API Permissions, it is required to set Mail.Send, User.Read.All. To do that, select Add a permission → Microsoft Graph:
-
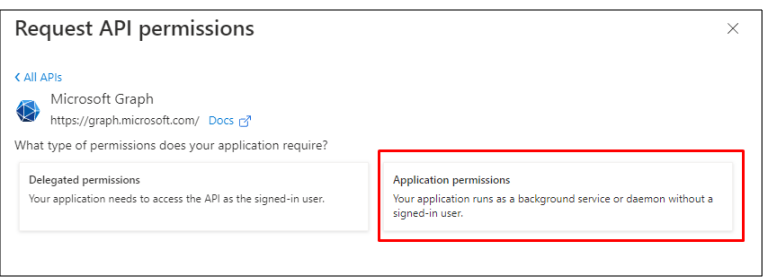
Select Application permissions:
-
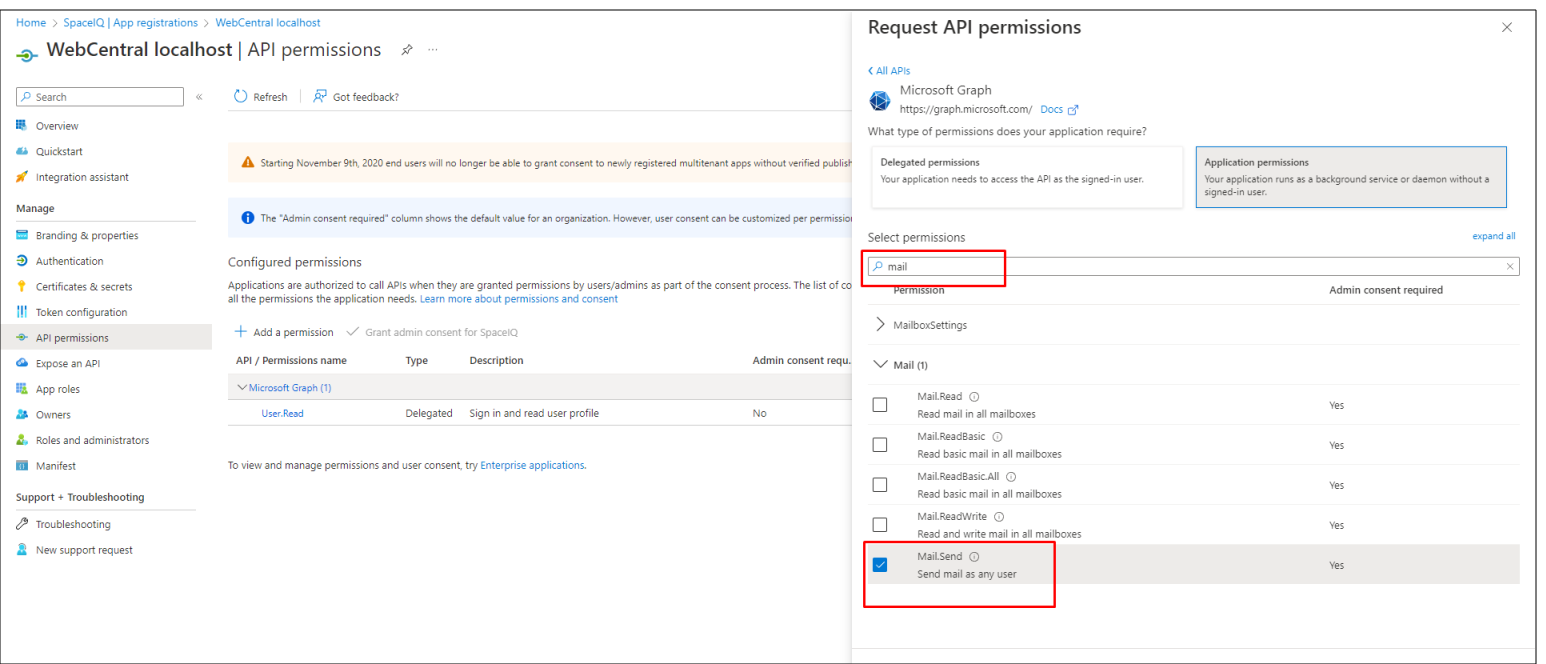
Search for “Mail” and select Mail.Send:
-
Do the same for the User.Read.All
-
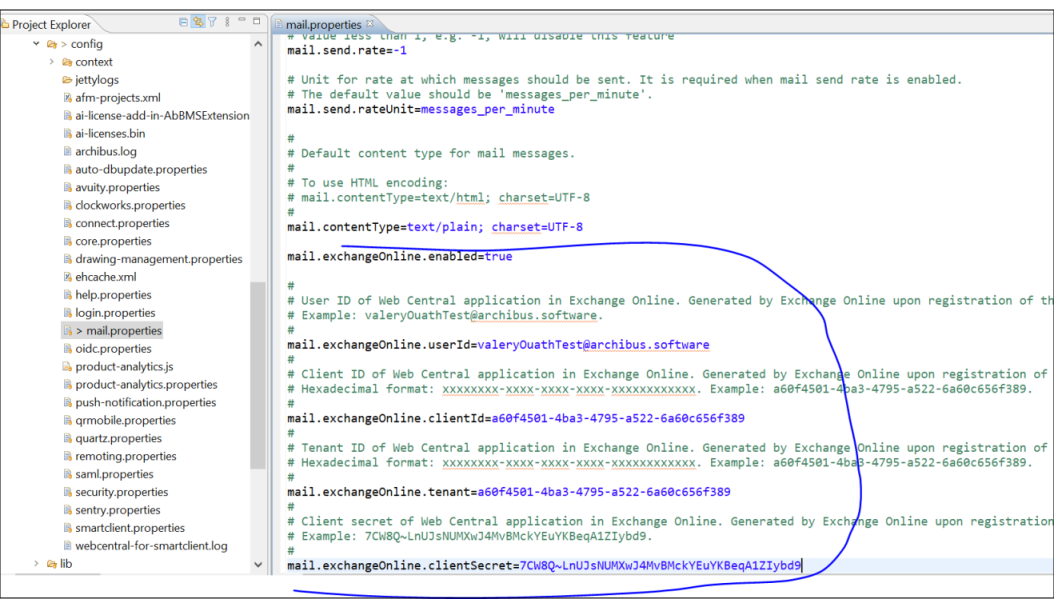
Copy values from the Overview page and secret value to WEB-INF/config/mail.properties. Also, copy account name to the same file as a userId
-
Change mail.exchangeOnline.enabled value to true.